I don't know if
you thought last week was nuts, but I sure did! I haven't even done any blogging for over a week! To punish myself (and my students) for that, we'll be embarking on a new project.
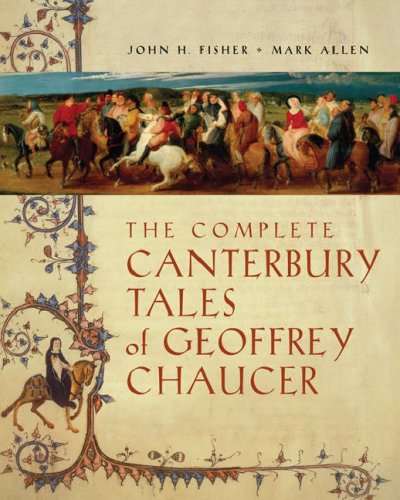
So far, in studying the Middle Ages, we've talked about the background of the times, ballads, and King Arthur and the Knights of the Round Table (specifically Sir Gawain and the Green Knight). Now, we'll move to arguably the single-most famous piece of the time period: Geoffrey Chaucer's
The Canterbury Tales.
The Canterbury Tales is basically the Medieval period's
Inception: It's a fictional story that has under-layers of other fictional stories. The basic plot is of a few dozen strangers, from different backgrounds, jobs, and levels of society, traveling to Canterbury on a religious pilgrimage. As they are on the way, they tell stories to make the time go past. Each story in
The Canterbury Tales, then, is titled after the person who is telling the story.
Before this even starts, though, Chaucer sets the mood in a prologue, where we find out what kinds of people are on their way to Canterbury. Often times, he'll tell us about the person's reputation or beliefs; other times, he'll describe their visible, superficial details, leaving us, as readers, clues to who they really are. Even though Chaucer might not spell out "HE IS GOOD" or "SHE IS BAD", we can usually figure out a lot about the person from the few details he provides.
The assignment, then, is to fill out this
graphic organizer about all the characters on the road trip. Usually, I give this assignment out to students to do individually; however, this year, I'll allow students to team up
in pairs (only!) to complete the assignment. The twist, though, is that the entire assignment must be completed digitally. The instructions are as follows:
- Download the worksheet.
 Click on this link (or on the QR code to the right) to get the Who's Who on the Canterbury Roadtrip Worksheet. Make sure you open it in GoodReader.
- Team up on filling out both pages. Partner A should have GoodReader open to pages 115-136 of the British Literature textbook. Partner B should have GoodReader open to the worksheet. As Partner A looks for answers, Partner B should be filling in answers. To do this:
- Hold down on the Job Description square for The Knight. A popup will appear. On that popup, you'll want to click on the little icon (below in blue) that says abc| .
- GoodReader will ask you if you want to save any changes you make either a) to the file or b) to a new file. Either is fine, but I'd suggest you do this first option.
- Now, the program will let you start to enter in text. I suggest you type in the answer right now. You can edit it later—add stuff, delete stuff, reword stuff—but just start putting in the information. When you're done, you can click Save on the top right.*
- Now comes the fun part—editing. When you click on the text you just typed, there will be all kinds of options for how to change the way the entered text looks. You can play around with it any way you want, but I want NO BORDER, NO FILL, and NO CALLOUT. Change the color to whatever you want, but make sure I can read it. Finally, change the font size to, at the largest, size 10pt. (When I put it into my own iPad, I still clicked -1pt twice because size 10pt was way to big.)
- Finally, click on Move to adjust the text box size. Fit it inside my little graph squares.
You'll do this process for each square. Once, you've formatted the type style, by the way, it will usually default back to that (so you don't have to set it again and again every time).
- Flatten. Once you have completed the worksheet 100%, you need to make sure that those changes you have made will stay permanent. On the bottom right, when you click on the second icon from the right (
 ), a popup will give you the option to Flatten Copy. Do that.
- Upload to Scribd. Sound familiar? Just as we did a long time ago, we'll upload these documents to Scribd. For a step-by-step process reminder, you can go back to that old blog post. There are two basic ways to do this: The all-iPad way and the iPad + Computer way.
- all-iPad way: From this view, click on Open In... and get that document into QuickOffice. (They might ask you to flatten again. It's fine—you can.)
Then, from here, drag the document to Scribd on the bottom of the page (as we did before) and upload it.
- iPad + Computer way: Just E-Mail File to yourself and upload it (on a computer) to Scribd.
- Embed it into your blog. Again, as we did before.
And that's all! (I feel like I always give a million instructions and say "That's it!" like it was really easy. Sorry.) This project will be due by next class, so get started!
*By the way, you should do this process, as well, for putting your name on the top of the paper!


 icon and easily record your teacher's talk. Remembering what the whiteboard said? Take a photo of the board and put it in, and, later, you can search the picture for text. Add in tagging (the best feature you're not using), and, most importantly, everything backed up to the internet, and you've got a killer app you should be using every period.